
In my last renovation update post, I shared our DIY plastering. But one thing we didn't plaster (did you catch it?) was the ceiling. Why? Well, because after my not-so-great attempt at the bathroom ceiling and some of Grants imperfect walls (although once painted looked fine!), we were somewhat worried. Unlike walls, there's something about ceilings that just shows up every imperfection. We spent some serious dollar on getting a roof window in this room, which we wanted to be the feature of the ceiling, not a bazillion plaster imperfections. In short, plastering a ceiling is so much harder than plastering walls and we just weren't sure we could pull it off to the standard we really wanted.
And of course, after spending money on a DIY plastering course, we obviously didn't want to fork out on a professional plasterer either. So the alternative was a cheats solution. To not plaster it. To totally cheat-out!
Modern new-build homes are the masters of cheating, because they're all about little cost, fast turnarounds and maximum profit. And one of the techniques many new-build sites use, is to not plaster walls. It cuts out the cost of a plasterer, the time plaster takes to dry and the time it takes to plaster as well. It's basically a win win situation (although the finish is a little more matt and never quite a match to plaster!) and we thought we'd give it a go.
So basically (in-case I sound mad!) the idea is that the plasterboard is prepared in such a way that it can be painted straight onto. Instead of plastering, all the joins are carefully filled and blended out so that it should look completely seamless. It sounds easy, but actually there is still a lot involved to get it to look good and there's still plenty of dust - my renovation nemesis.
But it was so worth it! The finish is great - you'd literally never know - and it was well worth the effort. So if you're interested in cheating out on plaster costs, keep reading to see how! If you're new here, you can read how we boarded the ceiling in this post as well.
Tools/Materials Required:
Scrim Tape (The sticky kind is best for DIYers!)Jointing Filler Pre-Mixed Plaster Skim Wide Jointing/Taping Knife Lots of Sandpaper Dust Mask and Eye Protection Step 1 - Apply Scrim Tape over Joins
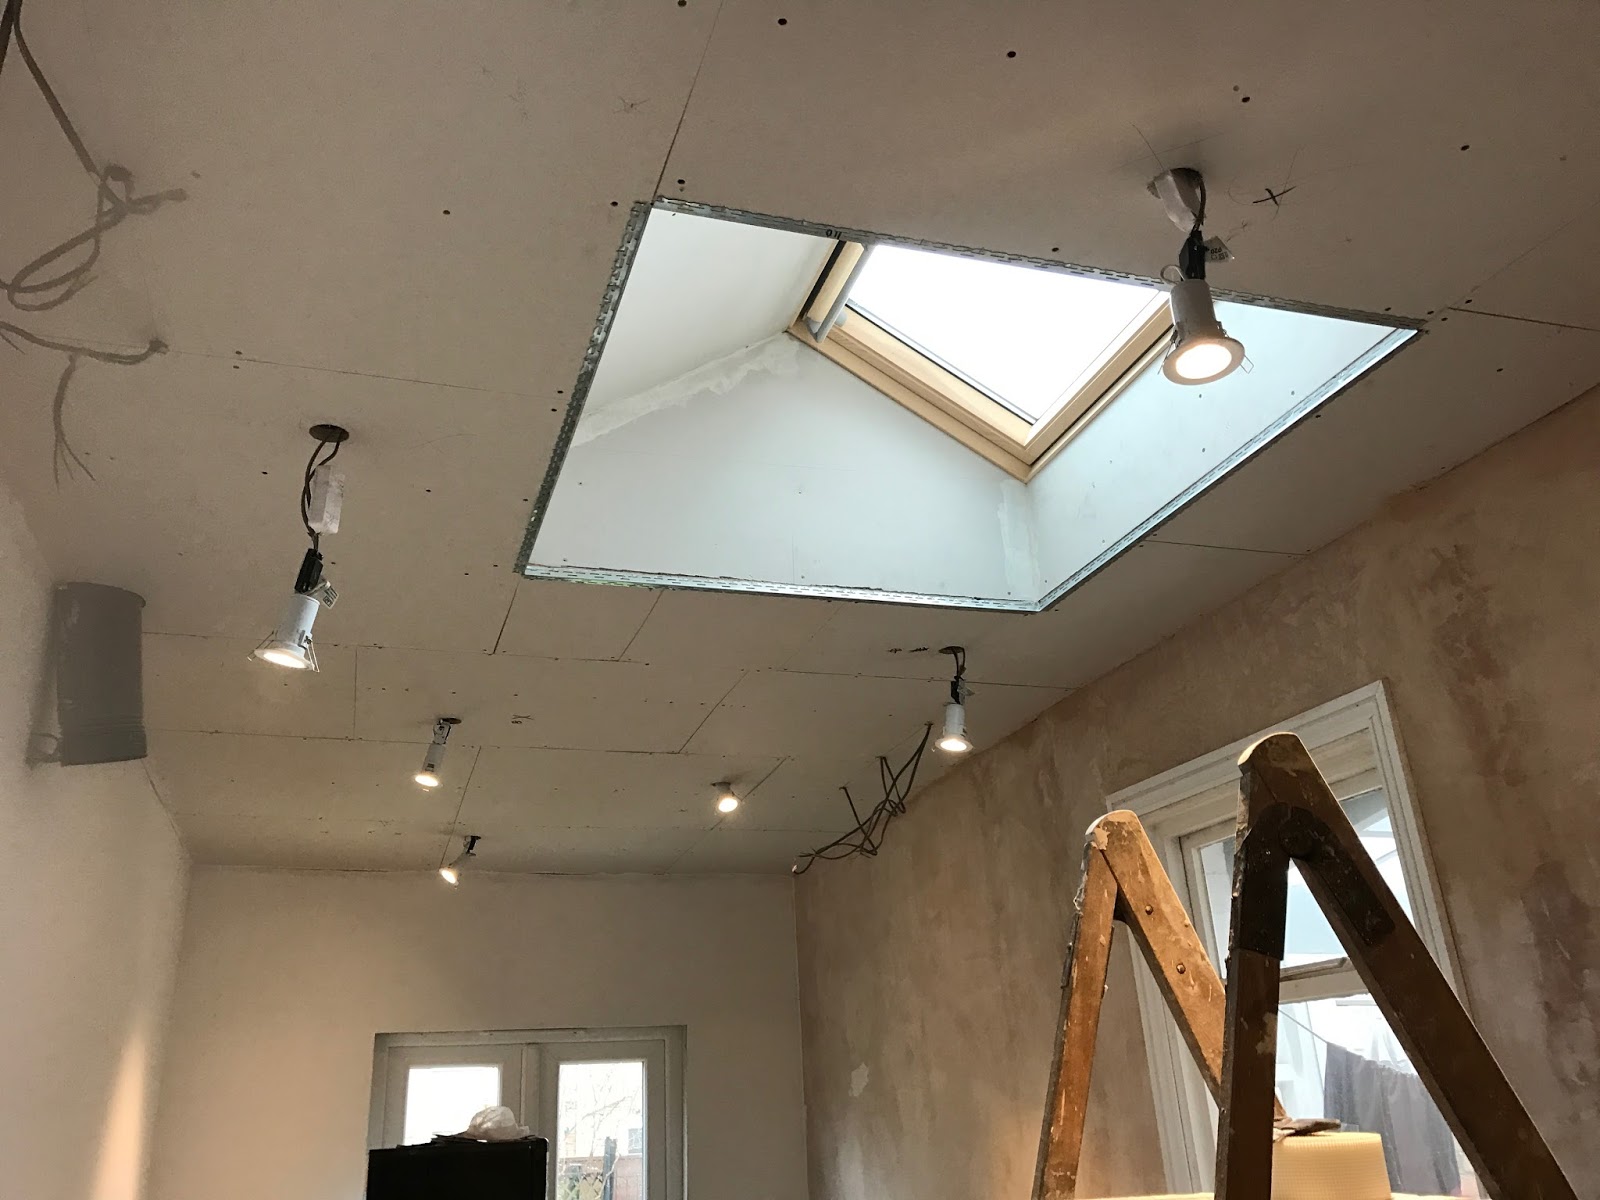
After having boarded up the ceiling, the next step is to apply Scrim tape over all the joins. The sticky mesh kind of scrim-tape is far better for DIYers - I made the terrible mistake of using the professional non-sticky stuff in the bathroom - it was a bloody nightmare and bubbled like hell. Sticky mesh all the way here! Try not to overlap the tape too much, but make sure all joints are completely covered. The idea of this tape is to give strength to the joins and make sure the boards wont crack along them, should there be any movement. Obviously you'll want to make sure any screw heads are fully sunken into the boards as well ;)
I've also used some scrip tape over the angle bead around the window as well, as we'll also be using the same non-plastering technique there too! 
Step 2 - Apply a Jointing Compound
Jointing compound is basically a very tough version of poly-filler and specific for using in the gaps between plasterboard joins. I've only used the Wickes own-brand jointing compound so far, which is sandable but bloody hard work with. It's formulation is much thicker than filler and it sets crazy fast, (so make sure to mix a little at a time!) but it really does a good job. The key here is to use the right tool to apply it! and I cannot recommend using a wide taping knife enough. It's a very wide filling knife, which is perfect for spreading the compound out over a larger surface area. I use a process of applying the compound, taking any excess off the knife and then going back over the join, to then take off any excess from the ceiling as well. Although the compound is sand-able, it's not the easiest thing to sand and if you leave too much excess up there, you'll be having nightmares! I've also used this compound on the angle bead around the roof window too.


Step 3 - Sand Jointing Compound
Although this stuff is "sandable" don't over-estimate the use of that word - you really don't want to be leaving oodles of excess on the ceiling/wall. TRUST ME. It's sandable yes, but it takes a lot of work to really sand down. So be sure to remove excess as you go! That being said, it will obviously still need a sand as it needs to be smooth, not rough. Here comes dust-mania part 1! If you're working on a ceiling, I thoroughly recommend using a hat to protect your hair from drying out - and a dust mask is essential too!

Step 4 - Apply a Pre-Mixed Plaster Skim
So I know some people would go back over with more jointing compound, but I prefer to use something a bit lighter and pre-mixed plaster skim is my new best friend. Again, it's much like poly-filler in many senses, but it's designed to be spread out in large amounts at once and act just like plaster really. It's the perfect consistency to work with and much more sand-able than actual plaster - which is another reason I've chosen to use this over another layer of jointing compound.
This top layer needs to be really well blended out and personally, I just don't think the Wickes jointing compound has the right finish to be painted straight onto. This stuff is great, no mixing required and it's essentially like adding plaster straight over the jointing compound - much like you would do if you were to plaster, but you can feather the edges properly so it's completely invisible! I used the same taping knife to apply this stuff and it worked a bloomin' treat!
Step 5 - Sand (Again!)
Yep, again! Unlike normal plaster, the pre-mixed plaster skim is waaaay more sandable. The key this time is to really focus on the edges where the plaster skim meets the board. You don't want to be able to feel any bumps or lines with your finger. Expect much more dust as you really need to go to town on getting it perfect. You may also need to touch up with plaster-skim on any areas that aren't quite perfect. Don't scrimp on being a perfectionist on this step!

Step 6 - Paint
And just like that - you're ready to paint! There are plasterboard primers out there which you can use, but I've just gone straight on with paint to keep costs down. The primer may well give a slightly less matt/rough finish, but for a ceiling - you're never going to be close enough to see the paint finish when dried, so we haven't bothered!


And that's it! Six steps, low cost, bit of effort, but so bloomin' worth it! The less plasterboard joins you have to do, the easier this would be to do. So in hindsight, we probably should have used bigger boards! But nevermind. The finish is pretty darn bob-on! There's probably only one join that's ever so slightly noticable in certain lights, but I certainly don't think our plastering skills would have been any match for this finish! 
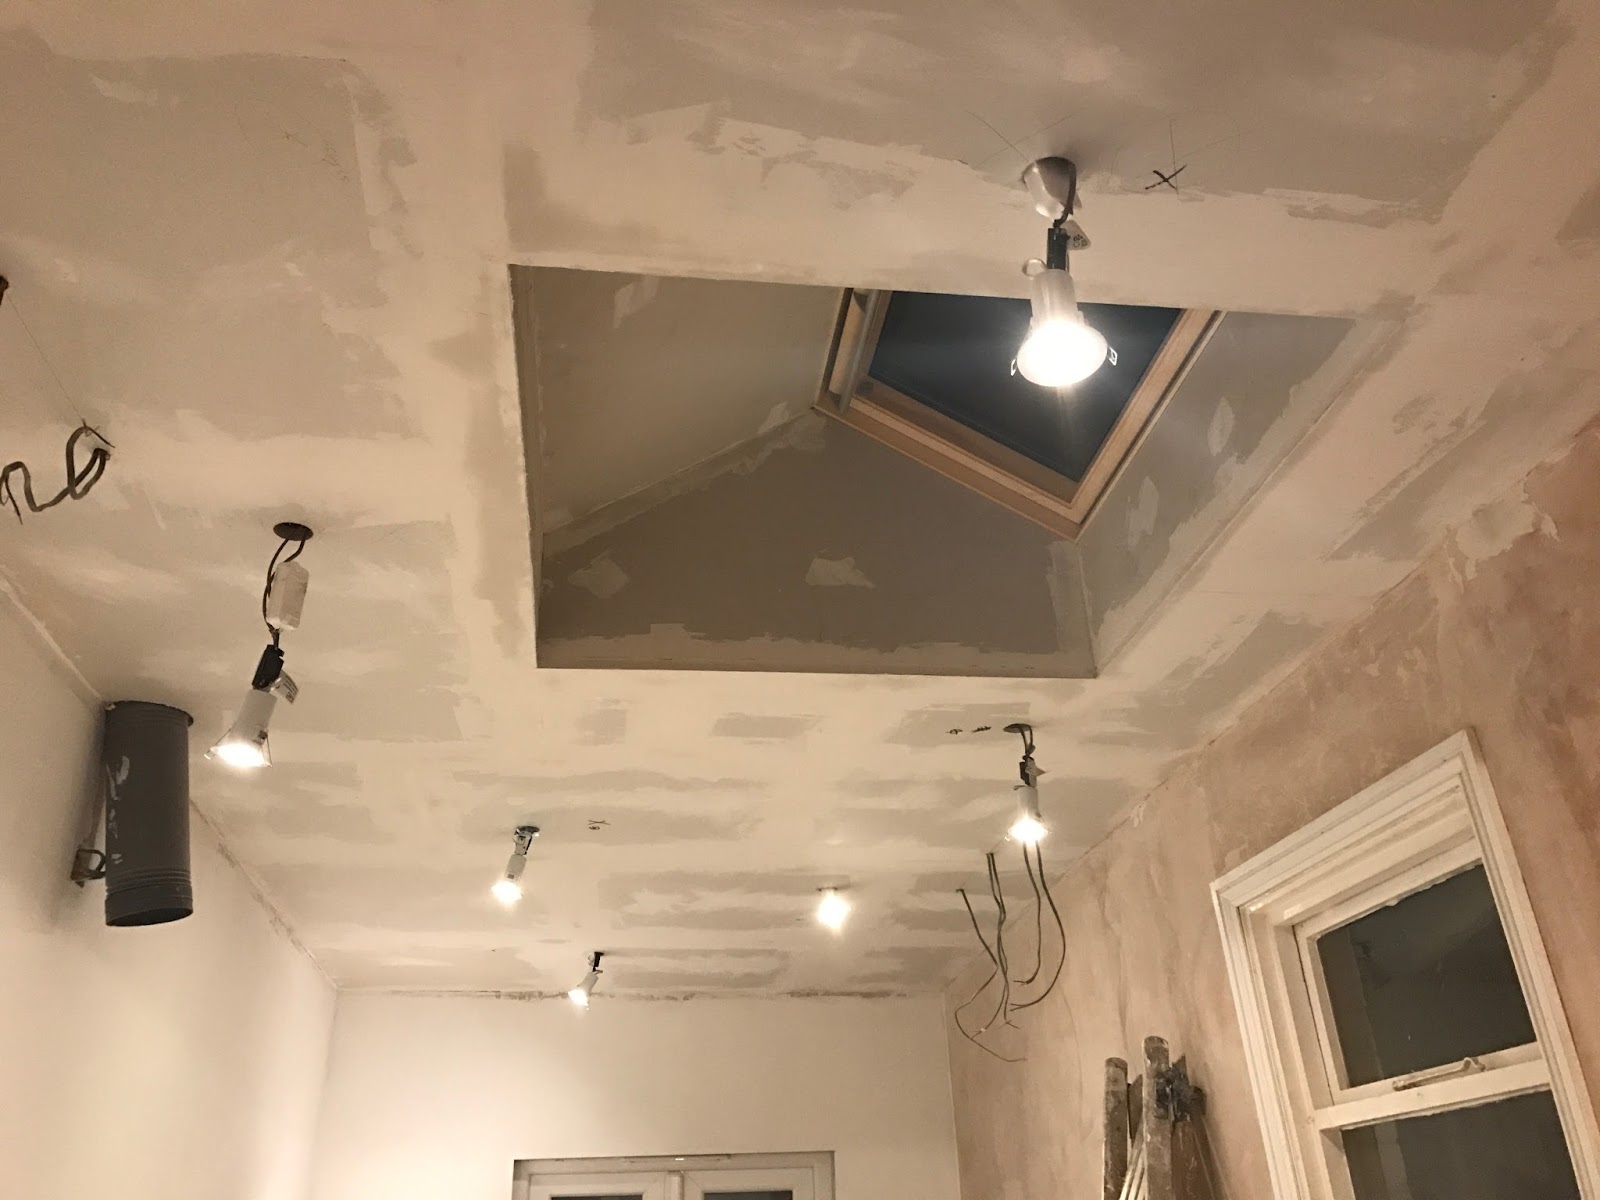
I love how the roof window really is the main feature. No imperfections, no messy hanging pendants in the center of the room - it's just solely the window on show. Which I freaking love! I have to say, although it does let heaps of light in - I do also worry slightly about being spied on by neighbours in the evenings, so a roof blind may also be an option for us in the future. I think a remote control system for blinds (like these!) particularly velux blinds, would be pretty cool stuff - but I'm not sure our budgets can reaaaallly allow for that. We'll have to see! Let me know if you have any suggestions or experience with hard-to-reach roof windows and privacy though!
So here's a snap of the newly painted ceiling with the roof window as the main feature in all its glory!

Costs
New Tools Purchased:
Jointing Knife £7
Materials Used:
Scrim tape (free from previous jobs!)
Jointing Compound (free from previous jobs!)
Pre-Mixed Plaster Skim £16
Sandpaper £5
Paint £10
Total: £38
*Collaborative Post
from http://www.kezzabeth.co.uk/2017/05/a-cheaters-way-to-plastering-ceiling.html
0 Comments
Leave a Reply. |

 RSS Feed
