|
In my shop we glaze about 600 LF of putty every week so making sure we are using the best putty that is not only easy to use but performs better than the other products on the market is of vital importance. I’ve written about Which Glazing Putty is Right For You previously, but have never done head to head testing of multiple products. Plus I’ve included some additional putties that I don’t have experience with but are readily available so I’ll be learning right along side you. For this test I have glazed a 3-lite sash with the various putties and left the sash in my shop for approximately 4 weeks before taking it outside and leaving it exposed to the elements unpainted. Here’s what I’ll be looking for in the testing and will rank them on a scale of 1-10 (1 being the worst and 10 being the best)
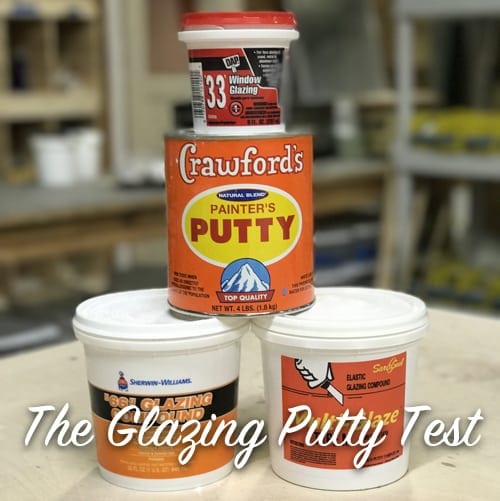
Below are the products that will be a part of my glazing putty test. I also snuck in my own glazing putty recipe to see how it performs with the rest. Soon we may have some of our own glazing putty available for you readers too! Test points 5 and 6 won’t be evaluated this year but in the upcoming years we’ll be able to see how the putties perform on these items. Crawford’s Painter’s Putty
The putty comes in a sealed metal can and has a layer of water on top that needs to be poured off and blotted dry with a rag before digging out some putty. The water keeps the oxygen off the putty and prevents it from developing a skin on top which saves you from loosing a layer of cured putty which is nice. Right out of the can the putty was simple to work in my hands and tools pretty nicely. I didn’t have any problems with the putty sticking or clumping and it was easy to work with my glazing knife. It is oil-based so clean up really consists wiping it off your hands with a rag and then washing a couple times with soap and water, but in the end it does come off. As far as the cure time, I was impressed that after only about 1 week the putty had developed a good enough skin that it was ready for paint.
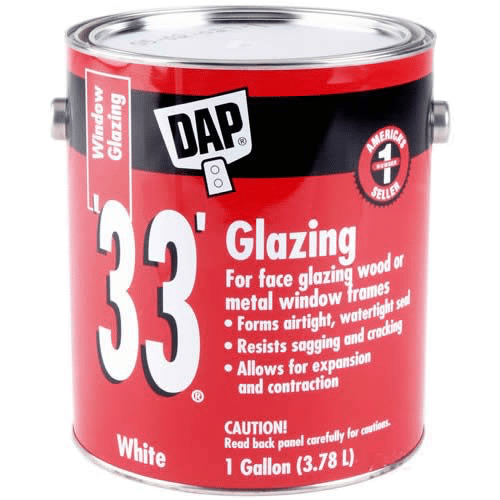
DAP “33”
The putty was very thick and oily and difficult to work with a putty knife compared to the other putties I tested, but I was still able to get a smooth putty line. The clean up is much like the other oil-based putties requiring wiping off then washing thoroughly. It took just about 16 days before the putty had a sufficient skin enough for painting which is on the long side for glazing putties. One small benefit of DAP is its white color. Since a vast majority of the sashes I paint are white it is much easier to ensure good coverage of the paint on the putty rather than with the natural tinted putties.
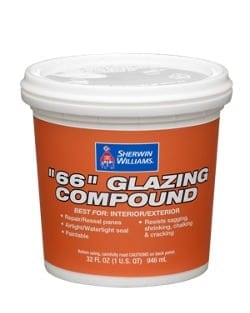
Sherwin Williams “66” Glazing Compound
The stickiness of the putty made it feel more like a paste than a knife grade putty. The stickiness did make it easy to adhere to the glazing rabbet but other than that I did not enjoy working with this putty one bit. Trying to tool a smooth finish was not an easy task and I’m a pretty darn good glazier. Cure time was about 13 days before it was ready for painting. Even if this putty performs amazingly I would not recommend it because it was such a pain to work with.
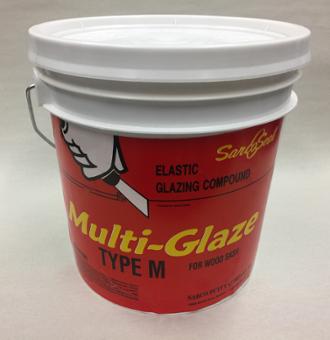
Sarco MultiGlaze
It tools easily and leaves a super smooth bed of putty. Not only that but it cures in about 3-4 days and is ready for paint at that point. The only down side to it is that it is not meant for on-site application. Sarco recommends that it be glazed in the shop and then painted before it is placed into service.
Scott’s PuttyFor this test I decided to add my own mixture of putty into the testing. I used a traditional glazing putty recipe of raw linseed oil and whiting. It was a little difficult to find a good mixture because when I made it thick enough that it wouldn’t sag it was then very hard to work with my glazing knife. When it was thin enough to glaze easily it was too thin and would sag. Clean up was much the same as the other putties which wasn’t surprising. I knew that by using raw linseed oil instead of boiled linseed oil the drying time would be extended but I was surprised by how much slower the skinning over time would be. It took about 26 days before the putty was ready for painting which is crazy long! While it was helpful to see how a traditional linseed oil putty performed compared to modern glazing compounds it was particularly helpful for my testing while I try to develop my own putty. Right now I would consider this putty a fail, but testing and learning is never a failure in the end.
This is only the first year of my glazing putty test so be watching for future posts to show how these putties perform out in the elements. The post The Glazing Putty Test appeared first on The Craftsman Blog. from https://thecraftsmanblog.com/the-glazing-putty-test/
0 Comments
Leave a Reply. |


 RSS Feed
