|
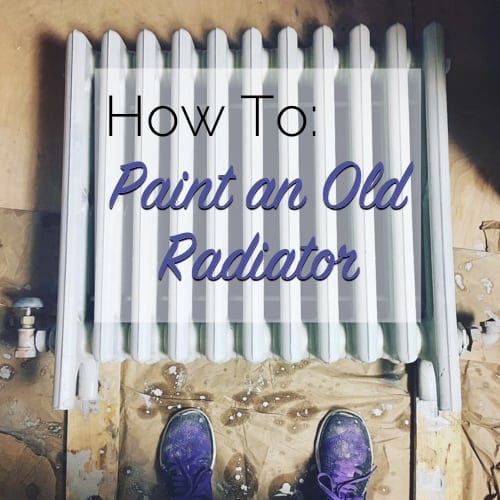
In this post, I’ll show you the right steps and materials to get an attractive and lasting paint job on your old cast iron radiator. My friend Natalie over at Earth+Flax was kind enough to help me out with some great pics of the process! Also, keep in mind that the mechanics of your radiator (while simple) need some upkeep as well. If it’s mechanical issues you are looking to resolve, then check out my post How To: Bleed a Radiator. How to Paint an Old RadiatorThere are two ways you can go when it comes time to paint an old radiator. If you feel up to removing your radiator and you are certain you won’t be needing it for a while, you can bring it to a sandblasting company to have a very thorough cleaning of the surface, but most times I find that is unnecessary. If you don’t want to go the full monty, be sure to read up on how to safely disconnect your radiator from your heating system first. If you are painting in place follow the steps below: Step #1 Protect the AreaSome of the chemicals and paints you’ll be using can be extremely difficult to clean up if they spill and can ruin your floors, so you want good protection down. I prefer to lay down some 6 mil plastic sheeting on the floors and walls in the area you are working and then put a canvas drop cloth over that. For the walls, you can also use cardboard since that is easier to stand up than a drop cloth. Make sure your radiator will not be heating up during the painting process because it could cause burns to you or damage to the coating before they are cured. Step #2 Cleaning & Remove Paint
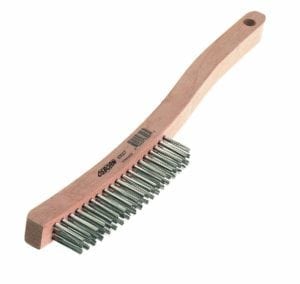
You don’t need to remove all the paint from your radiator, only the loose and flaking paint that is failing. I find that the best way to do this is with a stiff bristle metal brush and a bucket of TSP cleaner. Scrub the surfaces until all the loose paint and dirt is off and then dry off the surface with some rags. Use the large metal brush for the easy to access areas and try a furnace boiler brush for some of the hard to reach nooks and crannies. Depending on the design of your radiator you may have to improvise what kind of brush you use but a metal bristle works best to really get that old paint off compared to a much softer nylon brush which really will accomplish very little. Step #3 Treat the Rust
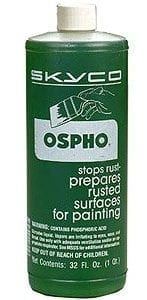
Nerd Alert Information: When applied to rusted surfaces, OSPHO causes iron oxide (rust) to chemically change to iron phosphate – an inert, hard substance that turns the metal black. Where rust is exceedingly heavy, two coats of OSPHO may be necessary to thoroughly penetrate and blacken the surface to be painted. A dry, powdery, grayish-white surface usually develops; this is normal – brush off any loose powder before paint application. Step #4 Apply Primer
If you can get proper ventilation and protection of the surrounding walls and floors, then spraying is a better option for getting a smooth even coat and makes getting into the hard to reach areas a lot easier. Brushing may take longer and be a little more difficult, but sometimes you don’t have the right setup for spraying and that’s when brushing is best. For getting into tight spots, I recommend testing a few creative application options before you start. Step #5 Time to PaintYour primer is dry and it’s time to finish the project. Pick another high-heat, oil-based paint like Rust-Oleum Engine Enamel and you’re ready to go following the same process as your primer. Make sure you don’t paint any of the valves, as they may stick and be difficult to open. Give it ample time to dry and good ventilation before turning the heat back on and you’re good to go! An Alternate Type of PaintThere is another type of paint you may want to consider for your old radiator, and that is linseed oil paint made by Allback. It is an old school type of paint that doesn’t require a primer (so that’s a time saver!), but it must be applied with a brush. Linseed oil paint is heat treated during it’s manufacturing process so it has no problems being applied to a radiator. Linseed oil paint is a more natural paint with less solvents and all around a healthier option to paint with that some people seem to enjoy. You can find out more about Allback and their paints here. The post How To: Paint an Old Radiator appeared first on The Craftsman Blog. from https://thecraftsmanblog.com/how-to-paint-an-old-radiator/
0 Comments
Leave a Reply. |


 RSS Feed
